Python is the language of choice for controlling the Raspberry Pi’s GPIO pins. It seems only natural then that to interact with your Pi over the web it should run a web server able to handle Python CGI scripts. Following the steps below will get the lightweight nginx web server running on your Pi, handing Python requests off to a uwsgi helper process.
- Install nginx
sudo apt-get update
sudo apt-get upgrade
sudo apt-get install nginx
- Add a location to the /etc/nginx/sites-available/default to pass Python requests on to uwsgi. This needs to be placed inside the “server” block of the configuration, for example right after one of the existing “location” sections.
location ~ \.py$ { uwsgi_pass 127.0.0.1:9000; include uwsgi_params; uwsgi_modifier1 9; } - Create a Python CGI script at /usr/share/nginx/www/hello.py
#!/usr/bin/env python
print "Content-type: text/html\n\n"
print "<h1>Hello World</h1>"
- Start nginx
sudo /etc/init.d/nginx start
- Build and install the uwsgi with the cgi plugin
curl http://uwsgi.it/install | bash -s cgi /home/pi/uwsgi
sudo mv /home/pi/uwsgi /usr/local/bin
- Create the file /etc/uwsgi.ini
[uwsgi]
plugins = cgi
socket = 127.0.0.1:9000
module = pyindex
cgi = /usr/share/nginx/www
cgi-allowed-ext = .py
cgi-helper = .py=python
- Create the file /usr/share/nginx/www/hello.py
#!/usr/bin/env python
print "Content-type: text/html\n\n"
print "<h1>Hello World</h1>"
- Create an init script for uwsgi at /etc/init.d/uwsgi
#!/bin/sh### BEGIN INIT INFO # Provides: uwsgi # Required-Start: $local_fs $remote_fs $network $syslog # Required-Stop: $local_fs $remote_fs $network $syslog # Default-Start: 2 3 4 5 # Default-Stop: 0 1 6 # Short-Description: starts the uwsgi cgi socket # Description: starts uwsgi using start-stop-daemon ### END INIT INFO PATH=/usr/local/sbin:/usr/local/bin:/sbin:/bin:/usr/sbin:/usr/bin DAEMON=/usr/local/bin/uwsgi NAME=uwsgi DESC=uwsgi DAEMON_OPTS=/etc/uwsgi.ini test -x $DAEMON || exit 0 set -e . /lib/lsb/init-functions case "$1" in start) echo -n "Starting $DESC: " start-stop-daemon --start --quiet --pidfile /var/run/$NAME.pid \ --make-pidfile --chuid www-data --background \ --exec $DAEMON -- $DAEMON_OPTS || true echo "$NAME." ;; stop) echo -n "Stopping $DESC: " start-stop-daemon --stop --quiet --pidfile /var/run/$NAME.pid \ --exec $DAEMON || true echo "$NAME." ;; restart|force-reload) echo -n "Restarting $DESC: " start-stop-daemon --stop --quiet --pidfile \ /var/run/$NAME.pid --exec $DAEMON || true sleep 1 start-stop-daemon --start --quiet --pidfile /var/run/$NAME.pid \ --chuid www-data --background \ --exec $DAEMON -- $DAEMON_OPTS || true echo "$NAME." ;; status) status_of_proc -p /var/run/$NAME.pid "$DAEMON" uwsgi && exit 0 || exit $? ;; *) echo "Usage: $NAME {start|stop|restart|status}" >&2 exit 1 ;; esac exit 0 - Start uwsgi and configure it to start on boot
sudo chmod +x /etc/init.d/uwsgi
sudo /etc/init.d/uwsgi start
sudo update-rc.d uwsgi defaults
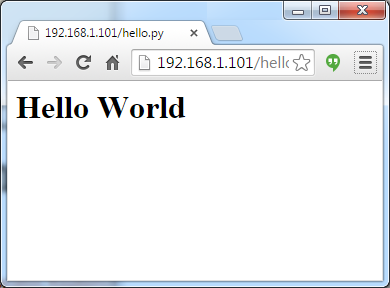
- Open up your web browser and go to http://{your pi’s ip address}/hello.py
If you’re using the browser on your Pi then you could instead go to http://localhost/hello.py
If you see the message “Hello World” then everything is working.
No Comments