AMP Cache Update Script
I recently read up on the AMP Project and installed the plugin to enable AMP-compatible pages for my blog. A couple weeks later I realized the code snippets in some of my blog posts were formatted incorrectly. I fixed the […]
I recently read up on the AMP Project and installed the plugin to enable AMP-compatible pages for my blog. A couple weeks later I realized the code snippets in some of my blog posts were formatted incorrectly. I fixed the […]
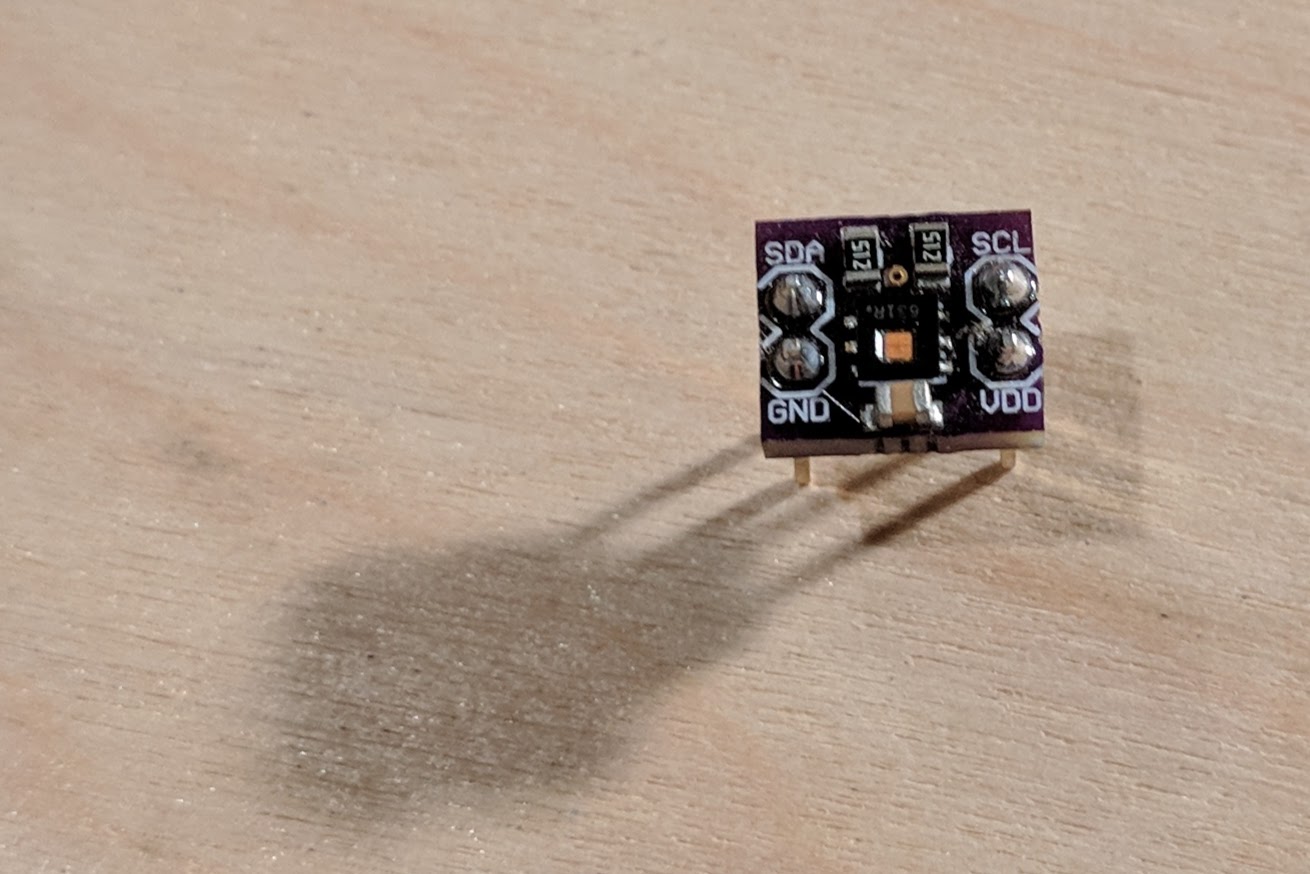
From the datasheet: The HDC1080 is a digital humidity sensor with integrated temperature sensor that provides excellent measurement accuracy at very low power. The HDC1080 operates over a wide supply range, and is a low cost, low power alternative to […]
I recently purchased the excellent PCF8523 real time clock breakout board from Adafruit for a project. It was easy to interface with using I2C and the RTClib Arduino library. It keeps the time for up to five years even with […]

How to design and build a breakout board for an SMD component As electronic components become ever more integrated and miniaturized, it can sometimes be impossible to find a through-hole counterpart to an interesting SMD part. For example, I wanted […]
The other day I bought a micro:bit for my daughter. It’s a small computer with bluetooth, an accelerometer, light sensor, magnetometer and temperature sensor. It also has a couple of buttons for input and a matrix of LEDs for output. […]
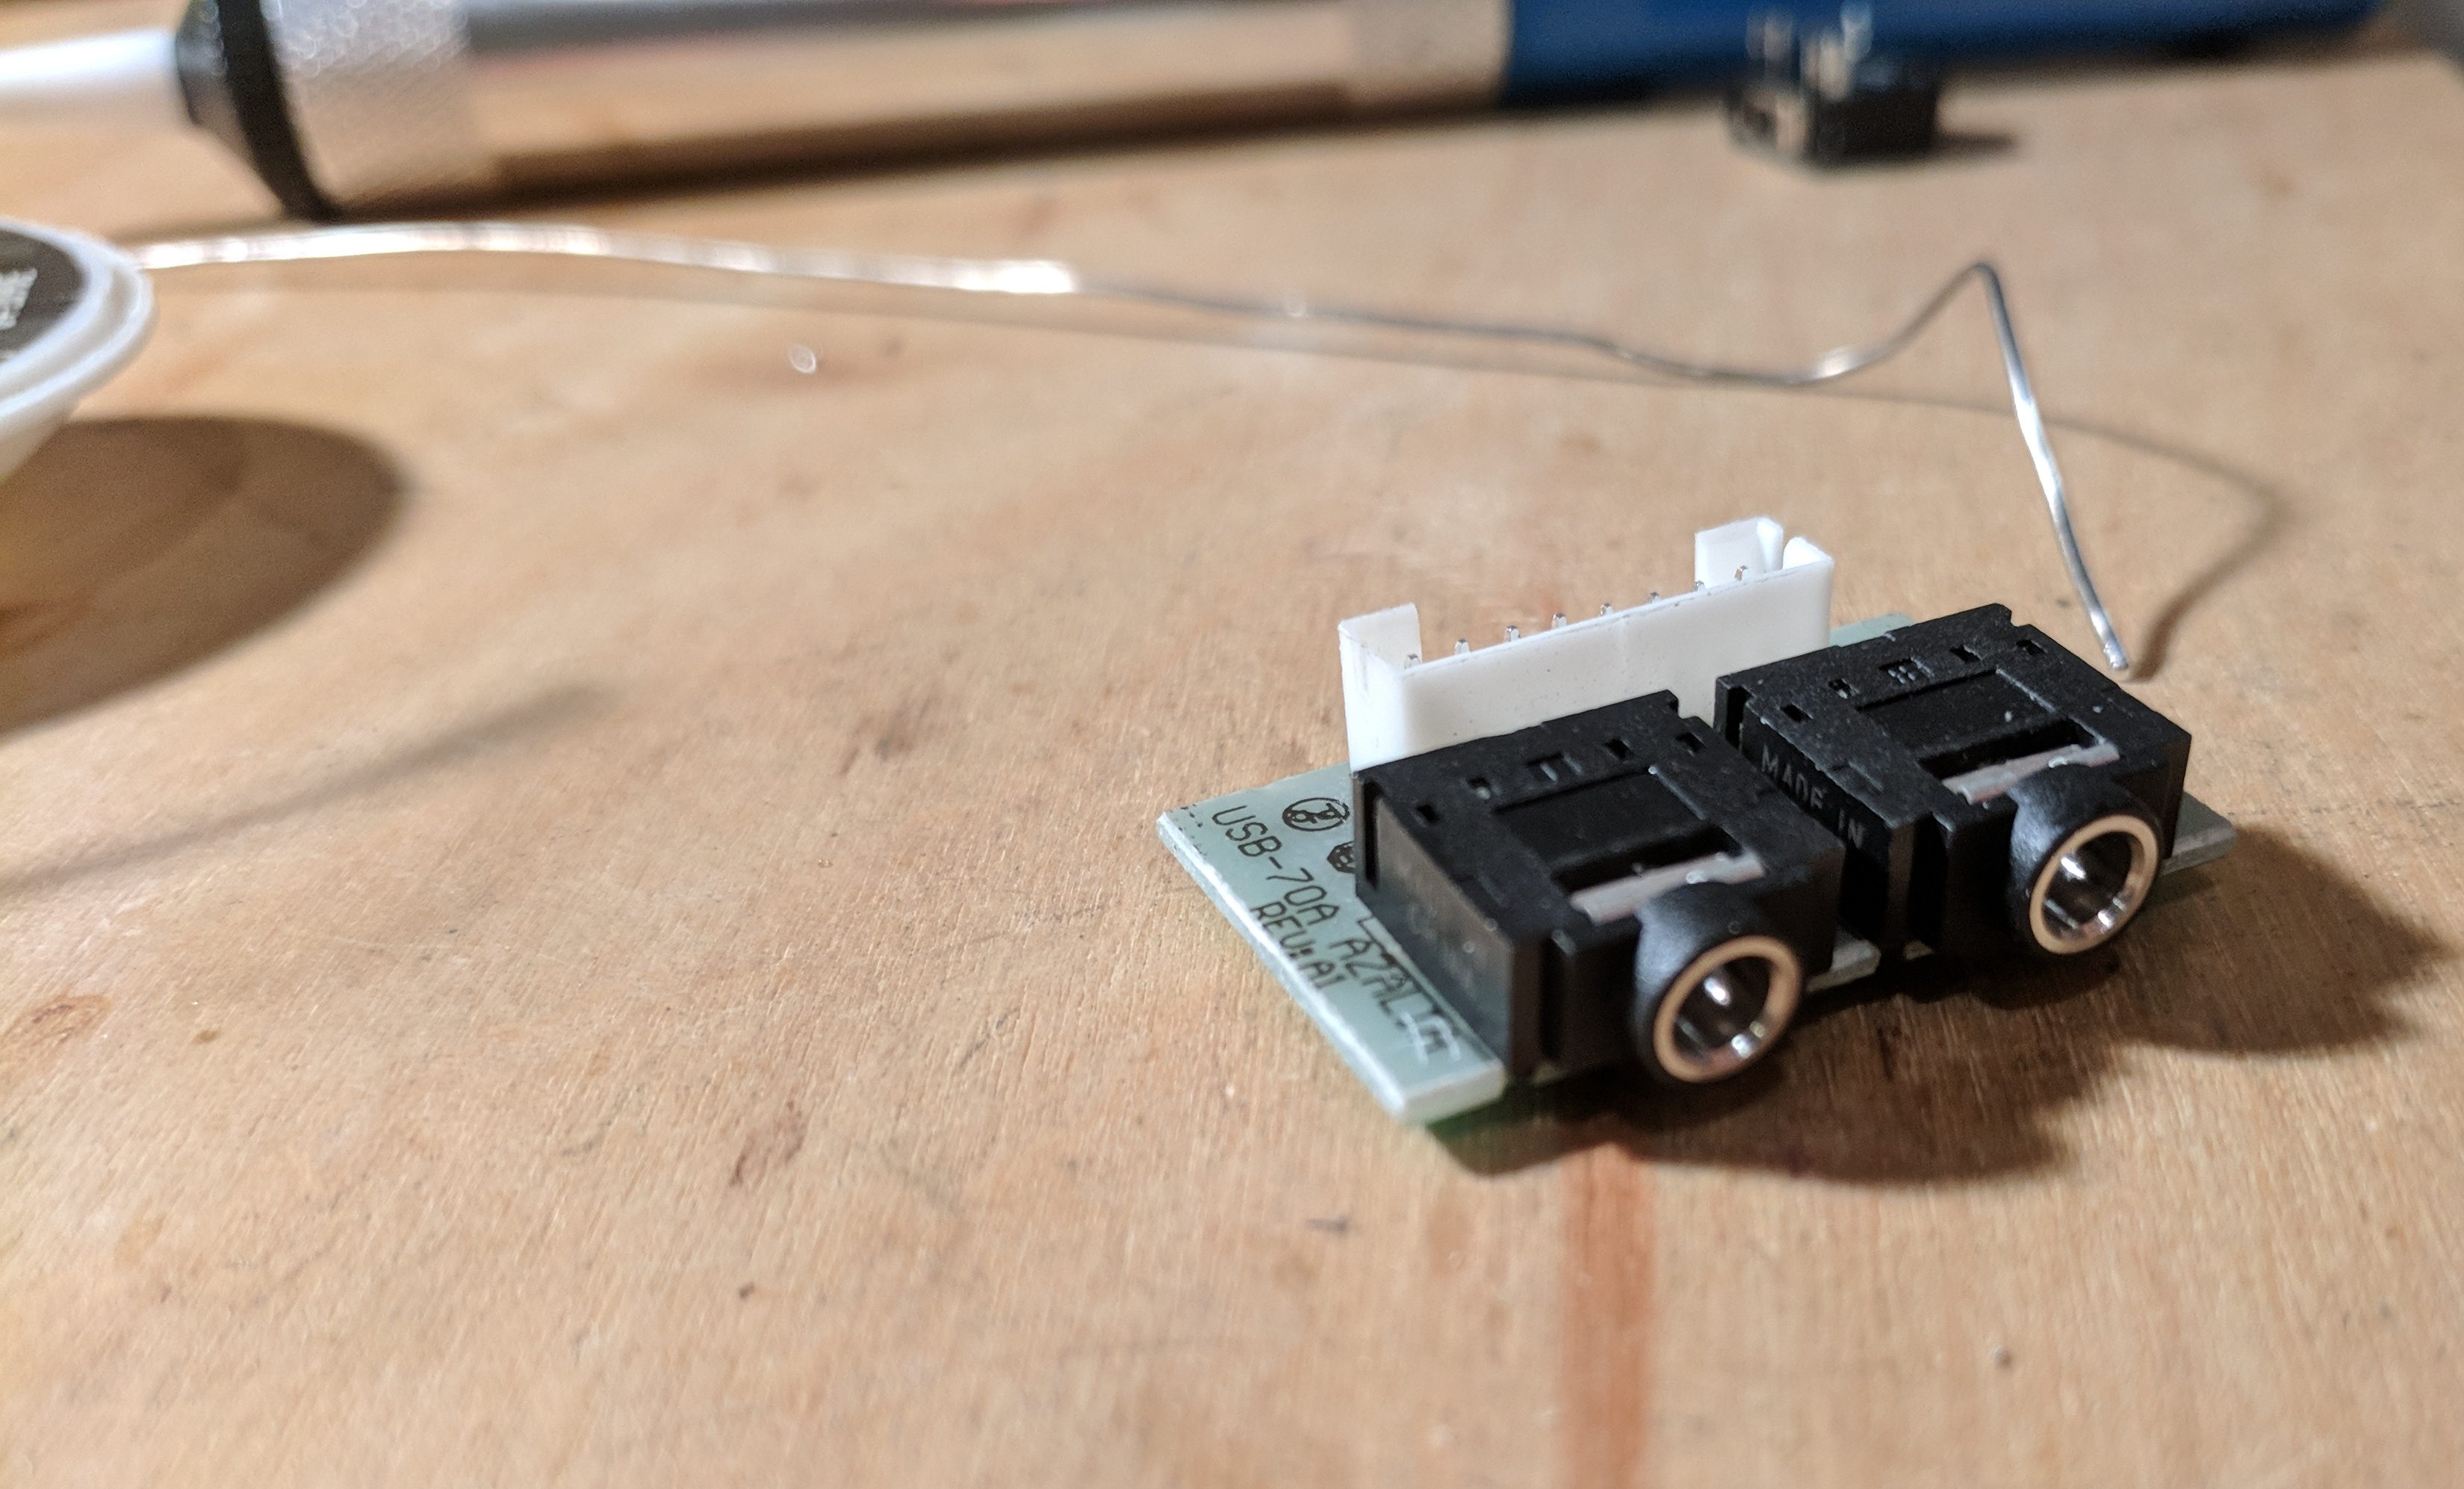
I’ve been using the Fractal Design R4 PC case for a number of years now. I love the design but the placement of the headphone jack leaves something to be desired. It is oriented vertically meaning that pulling on the headphone […]
I’ve updated the Backup to AWS EBS via Rsync and Boto 3 post to use Boto 3. This allows the script to take advantage of Waiters to wait for the instance to start running and the volume to be attached.
Python is the language of choice for controlling the Raspberry Pi’s GPIO pins. It seems only natural then that to interact with your Pi over the web it should run a web server able to handle Python CGI scripts. Following the steps below […]
We’re going to use the Raspberry Pi’s SPI bus to control Microchip’s MCP4151 8-bit digital potentiometer. The MCP4151 is an 8 pin SPI device that can be used to programmatically control output voltage. The GPIO pins on the pi run at 3.3 […]
The Raspberry Pi has a Broadcom BCM 2835 chip allowing it to interface with SPI devices on its GPIO pins. There are two chip select pins meaning that the Pi can control two devices simultaneously. P1 Header Pin Function 19 […]